



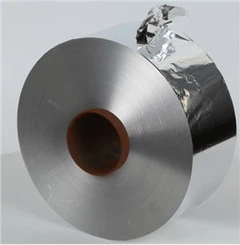


Aluminium is a very hard and durable material, making it a good choice for many home projects, including shutters and gutters. And once it has been painted on, the metal will be protected from sun and rain for many years to come. It's also relatively light as far as other metals go, so it's easy to work with.
If you have exterior siding, window frames, or any other metal structure that needs a new splash of paint, fear not. While painting aluminium differs from painting wood or masonry, it's pretty straightforward once you know the basics.
Whether you're a first-timer painting aluminium shelves or a seasoned pro painting aluminium gutters, it helps to go through the necessary steps for getting the job done:
Supplies You'll Need to Paint Aluminium
Painting aluminium can be a bit more involved than painting other materials. And since you're handling self-etching primers and rough surfaces, it's essential to take some extra precautions to prevent damage or injury.
Before getting the old paintbrush out and diving in headfirst, here are some supplies you'll need to have on hand.
Drop cloth
Gloves
Eye protection (safety glasses, face shield)
Air Respirator with organic vapour cartridges to keep out paint fumes
Sandpaper
Spray gun, roller or brush
Self-Etching primer
Clean cloth
Enamel Sealant
Latex or acrylic paint
How to Paint Aluminium – Step by Step
Step One – Clean Thoroughly
First, work in an area that's well vented and start by placing drop cloths under your aluminium structure to prevent accidental drips. Paint splatters and drips happen frequently, so ensure you have the drop cloths ready.
To clean your aluminium, mix some warm water with a mild detergent or degreasing cleaner in a bucket and dip a clean cloth. Wipe any dirt or grime, and rinse with clear water to remove all traces of soap residue. If there are flakes of paint, gently scrub with a wire brush to remove.
Step Two – Sanding Your Aluminium for a Coarse Finish
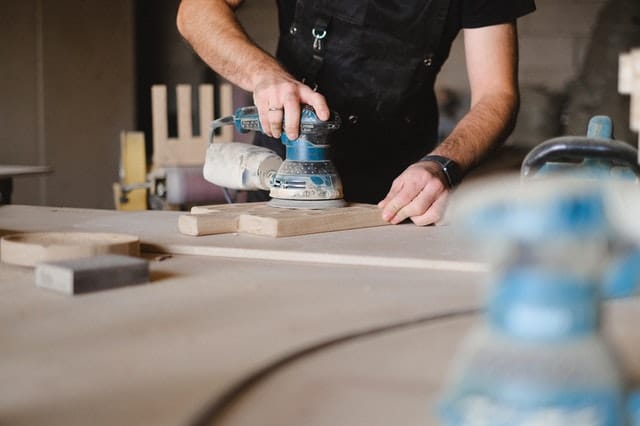
Sanding your aluminium is an essential step for creating adhesion between the surface and paint. Sanded surfaces are rough to touch, so you'll need to wear your gloves, respirator and eye protection during this step. If you're using a power sander, it's even more critical to use a respiration mask as inhaling aluminium dust is dangerous for your lungs.
Begin sanding your aluminium with fine grit sandpaper, around 60 to 80 grit. This will remove old paint quickly and provide the roughest surface for the new paint to grip onto. Once you're done, wash the surface thoroughly with the same solution mentioned in step one and leave it to dry.
Step Three – Apply Self Etching Primer in Multiple Coats
Once your aluminium surface is clean and dry, it's time to apply a Self Etching Primer. Apply 3-4 coats of primer, ensuring you have a solid layer to work with. If you're spraying your primer, the ideal place to do this is in a well-ventilated garage or outdoors where fumes can quickly dissipate.
Drying times between coats will depend on the primer and the air temperature, but in most cases, you can expect to wait around 5 minutes between them. Always read the directions to verify the recommended drying time before you apply each coat. Once your final aluminium coat has dried, proceed to sand again with 400-grit sandpaper and wipe away any residue with a cloth.
Step Four – Applying the Paint
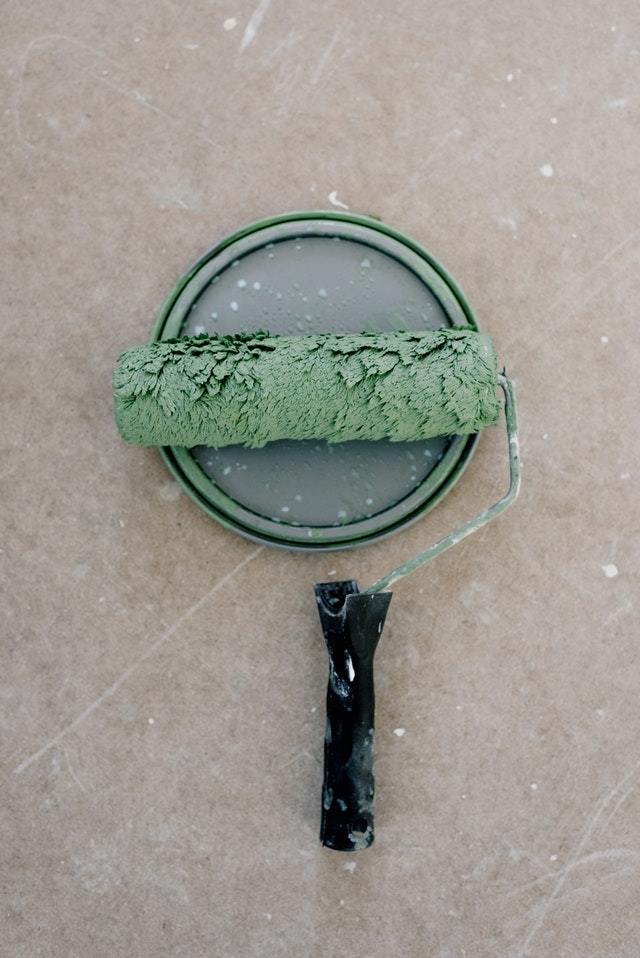
You've finally prepared your aluminium piece, and now it's time to apply your paint. Choose your favourite paint colour, and ensure it can be applied to metal surfaces. Apply 4-5 coats of latex or acrylic paint to your aluminium, and allow it to dry and cure for 24 hours before exposing it to water or any other type of harsh weather.
We recommend a matte or satin finish for aluminium, as they hide wear and tear better than high gloss. Matts paints are also ideal if your object is outside and exposed to the sun as they're more reflective and can withstand high temperatures.
Step Five – Apply Your Enamel Sealer
Once your paint has dried and cured, it's time to apply a coat of enamel sealer. This is an optional step, but we recommend applying the final layer as this will protect your paint from damage and discolouration due to UV rays.
Dip a clean cloth into the enamel sealant and let any excess drip off before wiping the surface. Allow the enamel sealant to dry, and then apply a second coat. Once the sealer has dried, you can bring your aluminium piece back inside and enjoy all its new beauty.
You may need to make a few touch-ups here and there, but the process will become easier over time.
Step Six – Cleaning up After Painting
Your aluminium paint job is finished, but you still need to clean up! Be sure to thoroughly wash any excess paint from paint brushes with warm water and keep your painting cans open until the paint has completely solidified. Afterwards, you will be able to dispose of the latex paint in your regular trash as they are non-hazardous.